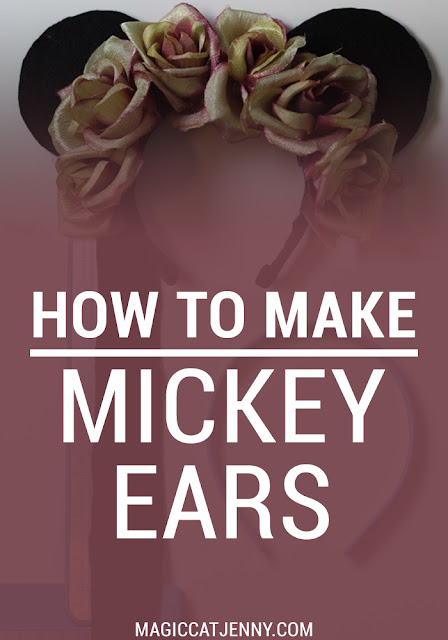
Here's a simple tutorial for how to make your own DIY Mickey Ears!
Supplies Needed
- headband
- black felt
- black craft foam (sticky back not required but saves time)
- hot glue gun (*hot glue burns! don't use without adult supervision!*)
- white crayon
- cup
- fabric scissors (regular scissors will work if you don't have fabric scissors)
- any additional accessories/decorations you want
The first step is to cut a strip of your black felt long enough to cover the length of your headband.
Start hot glueing the felt to the outside of the headband.
Once you've gone all the way around you're ready to glue the sides and ends down as well.
Your headband should now look like this.
Then you need to cut two circles out of the craft foam. Use the white crayon to trace around the lip of a solo cup to get the shape.
Once you've gone all the way around you're ready to glue the sides and ends down as well.
Then to the same to the felt but for each ear, trace two circles about a half an inch apart and connect them with the crayon and cut them out.
This next step depends on the size of your headband. Place the foam circle on one side of the felt circle unit and line it up on your headband. You'll need to cut a straight edge on the foam that will rest on the headband.
Then, line the ears up on your headband to see where you want them to go. If you have a pair of ears from the park you can use them as a guideline.
One you know where you want them to go, hot glue the base of the felt unit to the inside of the headband and then hot glue the other side of the felt to the foam.
Ta-da! You just made Mickey ears!
You can also hot glue on a bow or fake flowers or anything to make them Minnie ears or whatever you want!
I made those flower ears on camera with imSarahSnitch, check out our video below!


